fbpx

Welcome to The Red61 integration for ActiveCampaign
Support Page

Follow the below steps to integrate your systems

Stay on top of new purchases

Notify key staff when new transactions occur, automatically create new customer contacts in ActiveCampaign to follow up on purchases or event notifications.

Customise your automation flows

Automatically send custom marketing emails to your customers based on their payment and event activity. For example, to thank them for their purchases or to reward your most loyal customers with coupons, offers, or gifts.

Use tags to your advantage

Organise customer segments and trigger actions in ActiveCampaign using tags, which are automatically created when you define which events are important for your business.

Quick start guide

Follow these steps to start using Red61 Payments for ActiveCampaign in three simple steps.

Connect Red61 to ActiveCampaign
  •  You will need an access token from VYBRNT. Submit the contact form on the app listing page to let us know your intent to connect the integration.  We will provide an authentication toke.  Please note that there is a fee to connect the integration.  
  • Once your token has been obtained, log-in to your ActiveCampaign account.
  • Go to Apps.
  • Search and select Red61.
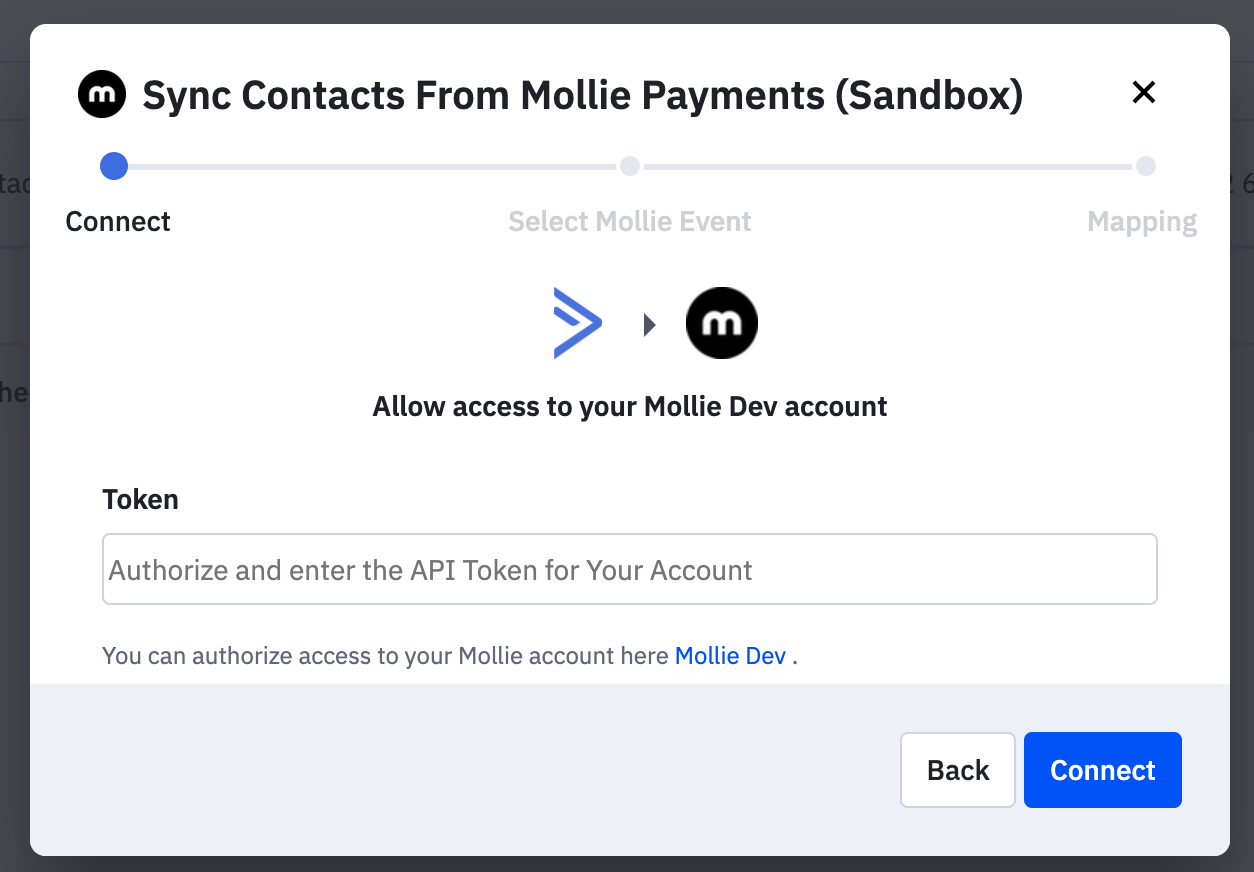
  • Click Add an account to open the integration wizard.
  • Under the Token field, click the Red61 link to enter your authentication token. If you’re already logged into Red61, the link takes you directly to the code. Otherwise, follow the steps to log in to Red61 and receive your code.
  • Copy and paste the code into the Token field and click Connect.
Red61 is now connected to your ActiveCampaign account
Create automation tags

After connecting Red61 to ActiveCampaign, remain in the setup wizard to create a set of tags that can trigger automation flows.

  1. In the Choose resource dropdown, select a resource that you want to use as an automation trigger. For example, Payment.
  2. In the Choose event type dropdown, select an event related to the resource, for example, Paid
This automatically creates a set of tags that you can use to trigger an automation sequence. Click Continue to map fields and complete the integration setup.
Map the email field

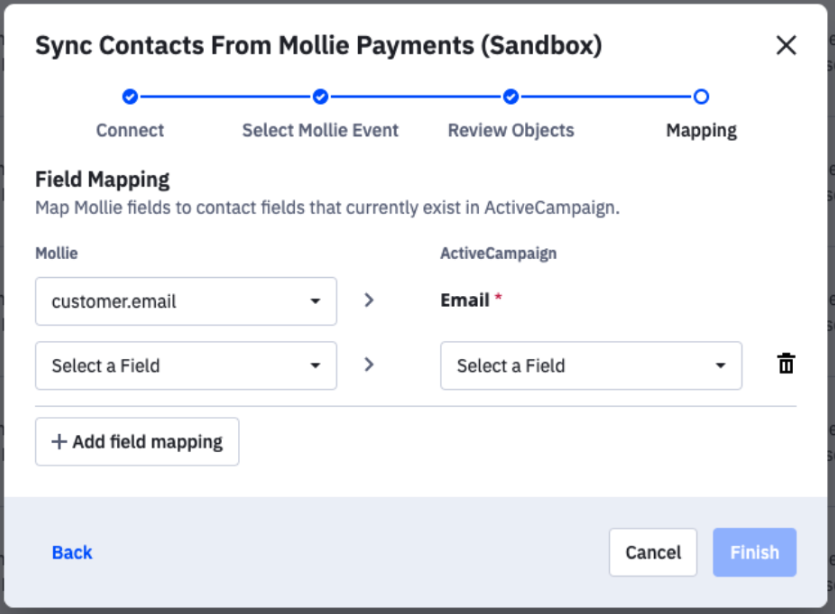
To finish setting up the integration, remain in the setup wizard to map the email field. This is required to ensure a successful data flow between Red61 and ActiveCampaign.

  1. In the field dropdown under Red61 , select the Red61  field that you want ActiveCampaign to use as the customer’s email address depending on the Red61  API you use:
    • Customers API: select the customer.email field.
    • Orders API: select the shipping or billing address email, according to your preference.
  2. Make sure that Email is selected in the corresponding ActiveCampaign field.
  3. (Optional) Click Add field mapping to map more fields.
  4. Click Finish.

The integration is now ready to use.

Tip: In ActiveCampaign, you can create a custom set of fields for Red61 to capture as much information as possible. This enables you to create powerful, targeted marketing campaigns.

Mapping the correct email in your resources

The Red61 and ActiveCampaign integration uses the customer email address that is linked to the Customer or Order within Red61. To successfully map your Red61 transactions to contacts within ActiveCampaign you will need to use one or the other.

Map Fields

You can use the email address of Red61 customers in case your transactions are linked to a customer within Red61. If you are unsure if you are using this setup you can check this within your Red61 dashboard by checking if a customer-id is linked to your transactions.

When using this setup you map the value customer. email on the Red61 side.

Understanding Red61 Custom Objects

What are Custom Objects?

Custom Objects enable you to model and manage your data in a way that reflects your unique business. In the case of Red61 we have created objects for transactions and interests. Thi will enable you to manage all relevant corresponding data to these objects. You can then trigger automations based on events and data related to your Custom Objects and create more personalised experiences for your customers.

Custom Object

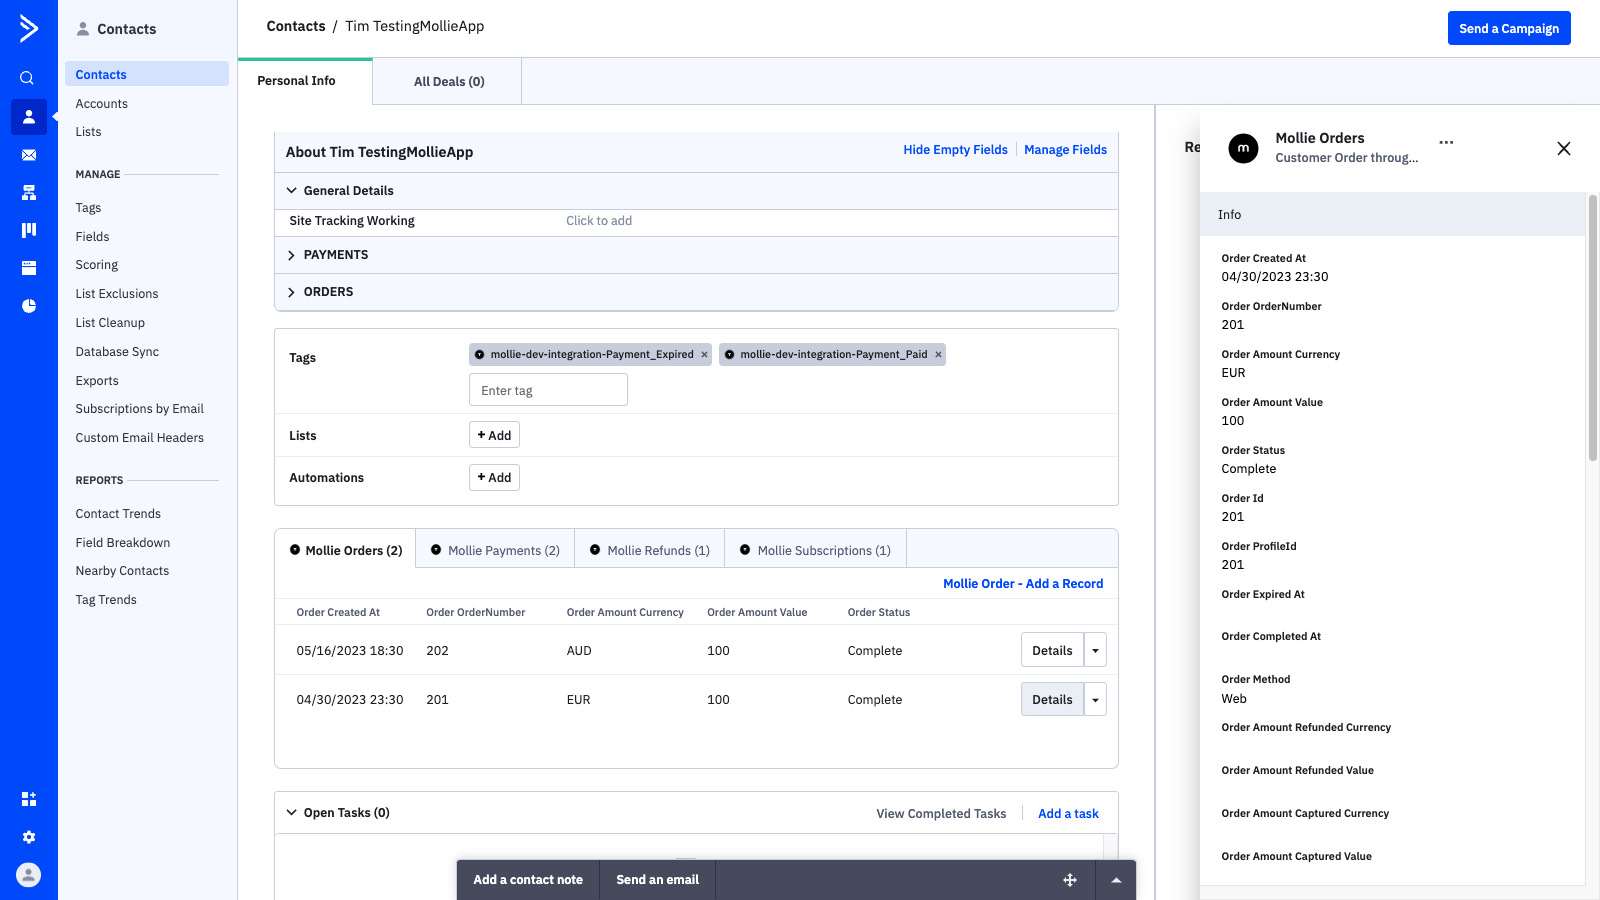
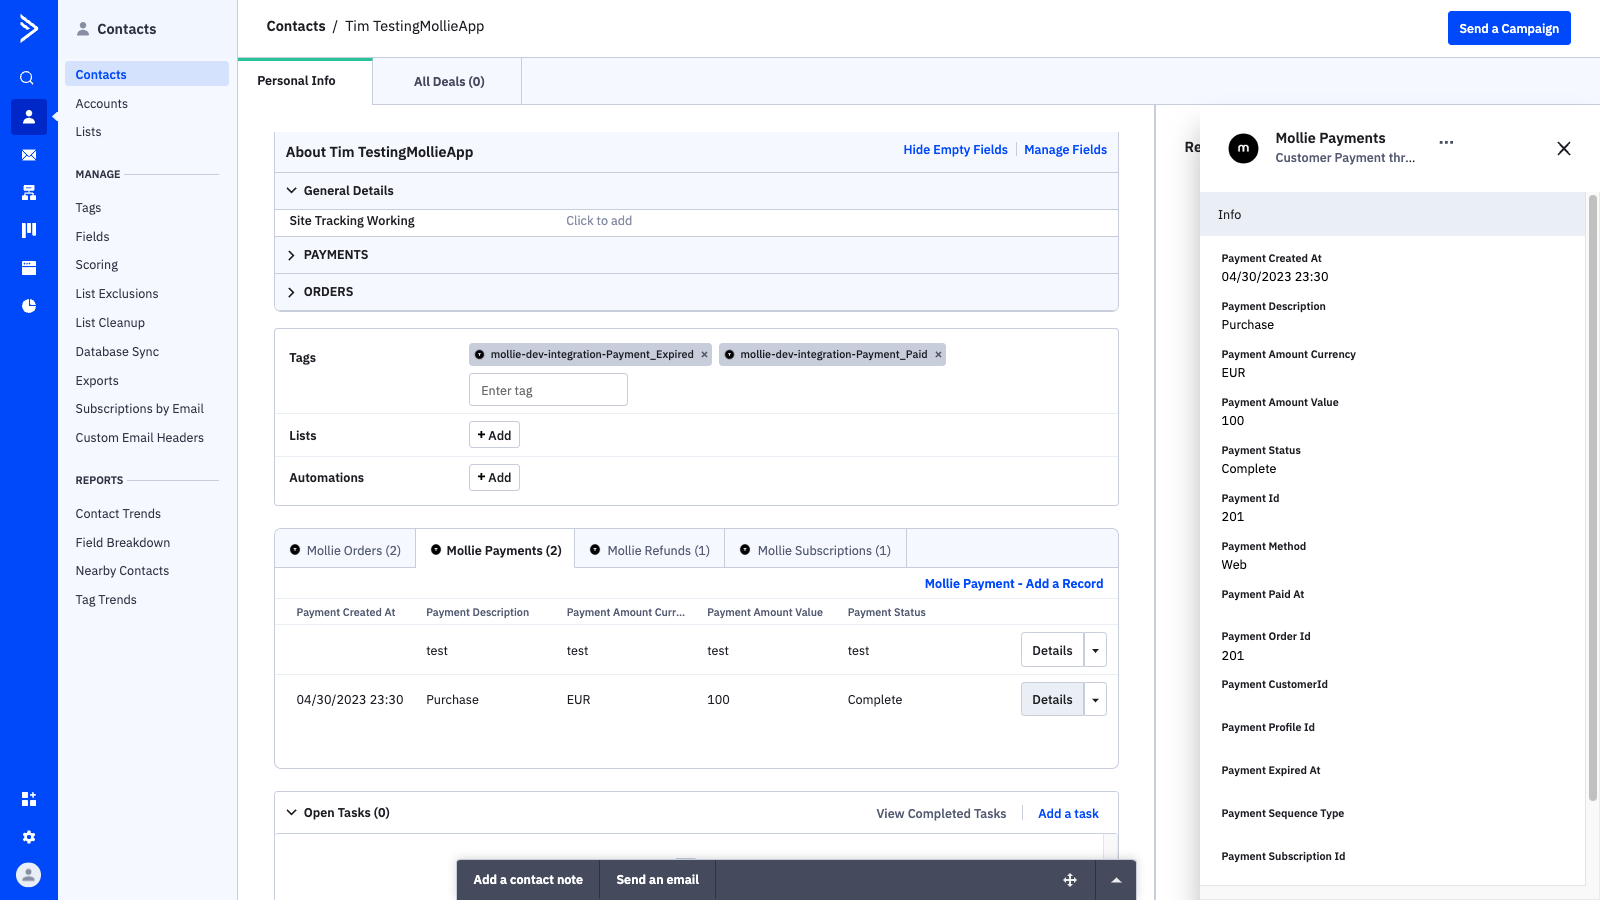
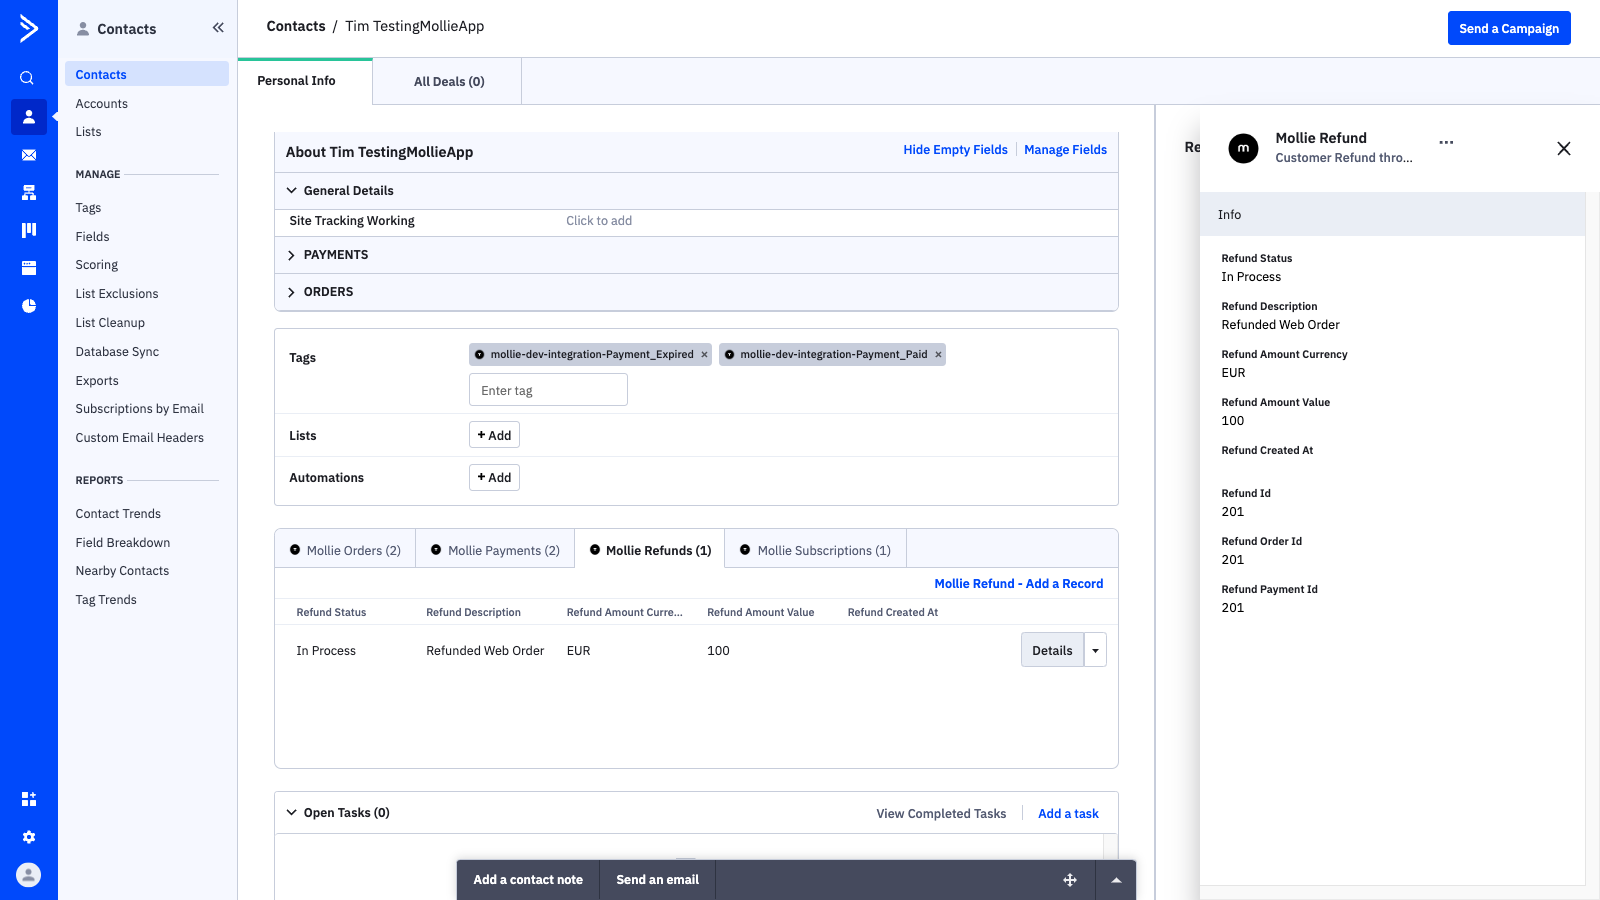
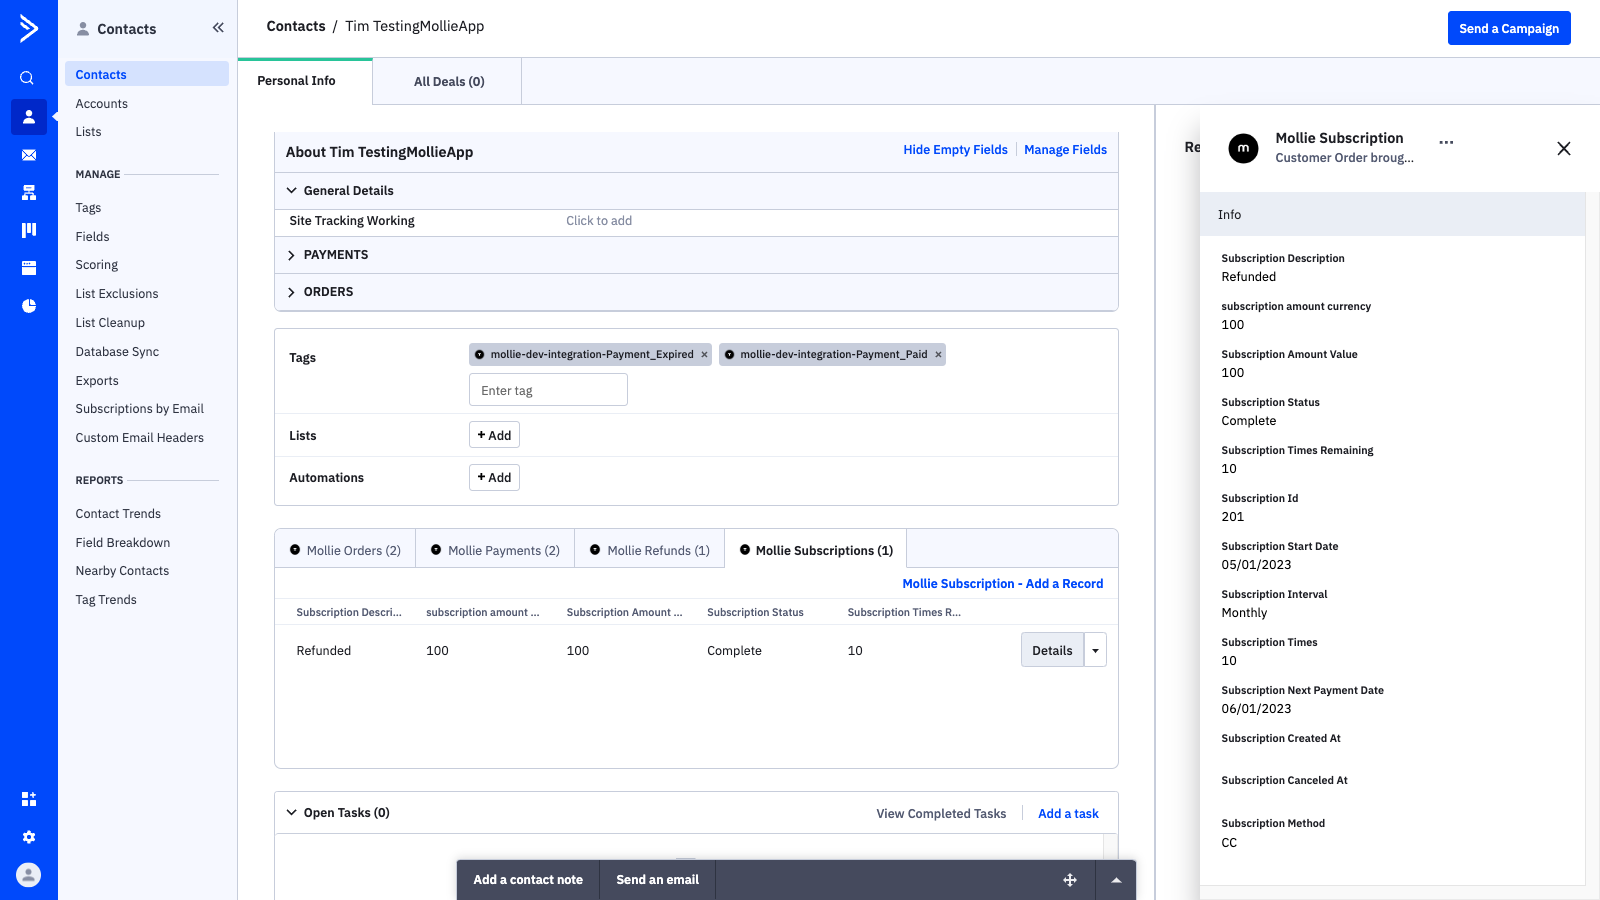
Transactions from Red61 Will be displayed in a custom object in ActiveCampaign.  Custom Objects create a historical record of each individual transaction. 

You can use the custom object data to segment your contacts, as well as to trigger automations. 

Object Fields

The Transaction Object field will contain the following information. 

Field Field Type Details
Order/Transaction title Text Input Shows the name/title of the person who made the transaction
Order/Transaction Id Text Input Unique ID of the transaction
Order/Transaction date Date Field Date of that the transaction occurred
Order ticket total Text Input The total currency value of the transaction.
Event title Text Input Name of the event
Presentation format Text Input Indicates if it's a physical or electronic ticket
Order ticket count Text Input The total number of tickets purchased under the order.
Perf date Date field Date of the performance that the tickets were purchased for

Next steps

After setting up the integration, you can add resources and map more fields to make the most of your Red61 Payments for ActiveCampaign integration. Afterwards, you can start creating automations.

Note: When creating automations for the first time, make sure you have correctly configured the resources in ActiveCampaign to ensure that the automation runs on the latest Red61 data.

Need ADDITIONAL support?

ActiveCampaign is an advanced marketing automation tool. You should have a strong understanding of the platform before sending customer communications.

For a demo of ActiveCampaign, guidance on best practices, or any further questions, contact us at support@vybrnt.com or submit a request using the form below.

VYBRNT – ActiveCampaign Consulting

Scroll to Top